Air duct cleaning is a crucial maintenance task that can dramatically improve your home’s air quality, energy efficiency, and overall comfort. However, knowing how to prepare for air duct cleaning is essential to ensure the process goes smoothly and delivers maximum benefits.
In this guide, we’ll walk you through everything that needs to happen before the cleaning begins—so you can approach the appointment with confidence, avoid last-minute scrambles, and help your technicians do their job thoroughly.
Preparing Your Home Physically and Logistically
Now, let’s start with the basics—your home’s physical layout. Making sure technicians can access your vents, registers, and HVAC unit without obstacles is one of the most impactful things you can do to ensure a successful air duct cleaning.
This preparation isn’t about making your house spotless—it’s about creating safe, clear working conditions so your cleaning team can reach every part of your system effectively. Here’s what you should focus on:
Clear Access to Vents and HVAC Equipment
Start by walking through your home and identifying all the supply and return vents. These may be located on floors, walls, or ceilings, and some can be hidden behind furniture or rugs. Make sure to move any furniture, décor, or storage bins that block access—technicians will need about three feet of clear space around each register to work safely and efficiently.
If your furnace, air handler, or HVAC unit is in a utility room, attic, or basement, those areas should be decluttered too. Move anything that could limit access to the equipment, including storage boxes or hanging items nearby. Even simple things like a laundry basket or a stack of paint cans can slow down the process or pose a safety hazard.
Protect Delicate or Valuable Belongings
Even though most professional cleaners use equipment designed to minimize mess, some dust or debris can still get stirred up—especially around vents and duct openings. To avoid unnecessary risk, remove or cover valuable items like electronics, artwork, antiques, and any items that are sensitive to dust or vibrations.
In rooms where cleaning will take place, consider using light sheets or drop cloths to protect furniture, particularly upholstered pieces near vent openings. You don’t need to wrap your whole living room in plastic, but a little prevention goes a long way in reducing post-cleaning cleanup or damage concerns.
Secure Pets and Plan for Family Members
Air duct cleaning can get noisy. The equipment is powerful, and the process can involve bursts of compressed air and mechanical brushing—all of which can be unsettling for pets or young children.
Before the cleaning begins, arrange for pets to be in a secure, quiet room that’s away from the work zones. If your pets are especially sensitive or prone to anxiety, it may be worth having them stay with a friend, neighbor, or pet daycare for a few hours.
Similarly, if you have small children or family members with sensory sensitivities, try to create a comfortable space away from the noise and activity. Let everyone in your household know what to expect so no one is surprised when the vacuums start running.
Make Entry, Parking, and Utility Areas Accessible
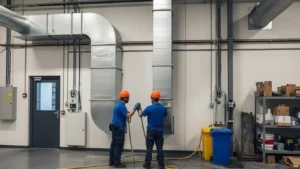
Your cleaning team may need to bring in large hoses, vacuums, or other equipment, depending on the method they use. Help them by ensuring there’s clear outdoor access to your entryways. If you live in a townhouse or apartment, let them know in advance about any parking limitations or building policies.
If they’ll be accessing attics, crawlspaces, or basements, double-check that those entry points are unlocked, well-lit, and free of clutter. You might not go into those areas often, but they’re frequently used to reach main ductwork or central system components.
Also, make sure nearby electrical outlets are accessible. While many professional systems are powered by truck-mounted equipment, indoor tools and lights may still need plug-in access. This simple step can save time and prevent unnecessary interruptions during the job.
Also Read: How Air Duct Cleaning Can Help Reduce Energy Bills
Coordinate Scheduling Around Your Routine
Finally, make sure the cleaning is scheduled at a time that works for your household. Most jobs take between 3 to 6 hours, depending on your home’s size and the condition of your ducts.
During that time, technicians will need to move freely throughout the home, so it’s best to avoid overlapping with other service appointments, deliveries, or high-traffic activities like cooking or homeschooling.
Confirm the appointment time, estimated duration, and access needs with the cleaning company a day or two in advance. If any special arrangements are needed—like gate codes, lockbox instructions, or stairwell access—communicate those clearly.
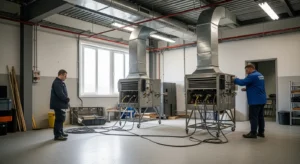
Prepare Your HVAC System and Indoor Air Strategy
Once your home is physically ready, the next step is to focus on your HVAC system itself. Even though the technicians will handle the cleaning, taking a few proactive steps with your system can help avoid issues, improve the final results, and protect your indoor air quality after the work is done. Learn more about the process and benefits of residential air duct cleaning.
These preparations don’t require technical expertise—but they do require a bit of attention. Here’s what you should do before the team arrives.
Replace or Upgrade Your Air Filter
One of the simplest but most important steps you can take is installing a new air filter before the cleaning—or at the very least, have one ready to go immediately after. A fresh filter ensures that once the dust and contaminants are cleared from your ducts, your system isn’t just pulling them right back in.
Choose a filter with an appropriate MERV rating for your HVAC system—typically between MERV 8 and 12 for residential homes. A filter that’s too weak won’t capture airborne debris effectively. On the other hand, one that’s too dense can restrict airflow and strain your system.
If you’re not sure which filter to use, check your system manual or ask the cleaning professionals for a recommendation.
Inspect for Visible Issues Before Cleaning Starts
While your duct cleaning team will often spot problems during their work, it’s worth doing a quick visual check yourself first. Look at your vents and air returns—are any of them loose, rusted, or showing signs of damage? Take note of any rattling, poor airflow, or strange smells when your system runs. These could indicate leaks, disconnected ducts, or buildup that needs more attention.
If your HVAC unit is in a basement or attic, check that the surrounding area is clean, dry, and not obstructed. Make sure the panels are secured and that insulation isn’t hanging loose inside or around the unit. These small checks won’t replace a professional inspection—but they can help you bring up specific concerns before cleaning begins.
Communicate Known Problems or Irregularities
If you’ve had airflow issues in certain rooms, experienced hot or cold spots, or noticed persistent odors coming from your vents, now is the time to speak up. Make a quick list of what you’ve observed and share it with the technicians when they arrive.
This helps them focus their inspection and cleaning efforts more precisely. For example, uneven air flow could point to a partial blockage in a specific duct branch—or a disconnected joint that’s leaking air behind your walls. These are things a cleaner can address more effectively if they know what to look for.
Shut Down the System if Advised
Some cleaning teams will recommend turning off your HVAC system before they begin. Others may shut it down themselves once they’re ready. Either way, check ahead with your provider to understand what’s expected and whether you need to make any adjustments beforehand.
If you’re turning it off manually, it’s usually best to do so at the thermostat and circuit breaker. This prevents accidental activation while technicians are working in the ductwork. It also protects the blower motor and prevents air from circulating debris during the process.
Take Photos and Keep Documentation
While not essential, it’s a smart move to document your system before and after cleaning. Snap photos of vents, returns, and any areas of concern. These can serve as helpful reference points later—especially if you’re working with warranties or comparing before/after air quality.
If your duct cleaning team provides inspection notes or before/after images, ask for copies. These records are helpful for ongoing maintenance and can also be useful if you’re planning to sell your home down the line.
Also Read: The Hidden Costs of Neglecting Your Air Ducts
Seasonal and System-Specific Considerations
The time of year or the kind of ductwork in your home can shape how you prepare for air duct cleaning. While the fundamentals stay consistent, a few seasonal and system-specific tweaks can help you avoid discomfort, reduce delays, and prevent unnecessary complications.
This section will help you tailor your preparation based on your HVAC setup and the season you schedule your cleaning.
Spring: Fresh Start, But Watch the Allergens
Spring is one of the most popular seasons for air duct cleaning. It’s the time when homeowners are thinking about fresh air, cleaning out winter buildup, and getting ahead of summer cooling demands.
But here’s the trade-off: spring also brings pollen. If you or your family suffer from seasonal allergies, make sure windows and doors stay closed while prepping and during the cleaning. Air duct cleaning can help reduce airborne allergens—but if new ones are floating in from outside, that can cancel out the benefit.
You’ll also want to double-check for any moisture damage from the winter months. Melting snow and humidity can sometimes lead to hidden mold growth or water pooling in basements or crawl spaces where ductwork may run.
Summer: Stay Cool While Cleaning
In warmer climates or peak summer months, scheduling duct cleaning takes a little more planning. Most cleaning companies recommend shutting off your HVAC system while they work—and that could leave your home feeling stuffy or uncomfortably warm.
To prepare, cool down your home ahead of time and plan to stay in shaded or ventilated areas during the appointment. If you’re sensitive to heat or live in a multi-story home, consider spending time on the lowest level of your home while the work is underway.
Also, address humidity issues before cleaning begins. Summer air can increase moisture inside ductwork, especially if crawlspaces or basements aren’t well-ventilated. Excess humidity can contribute to mildew, mold, or debris sticking to duct walls—so drying out problem areas beforehand is a smart move.
Fall: The Ideal Time for Most Homeowners
Fall might be the best-kept secret when it comes to duct cleaning. The temperatures are milder, the HVAC system isn’t working overtime, and it’s the perfect time to get your ducts clean before turning on your heater for the winter season.
During winter, ducts work harder and more consistently, so starting the season with clean ducts can improve airflow, reduce fire hazards from dust buildup near heat exchangers, and improve air quality when your home is sealed up tight
If you’re preparing for fall cleaning, be sure to clear around heating units, change your filter in advance, and check for leaf or debris buildup around exterior vents and intakes.
Winter: Doable, But Not Always Ideal
Cleaning in the winter can be a challenge—mostly due to comfort and access. If your HVAC system is your primary heat source, shutting it off for several hours can be inconvenient or even risky during extreme cold.
If you do go ahead with a winter cleaning:
- Use space heaters temporarily, but keep them away from work zones.
- Preheat your home before the appointment.
- Clear snow or ice from exterior vents, driveway access, and walkways so technicians can move freely and safely.
Also be mindful of condensation in ductwork, which can occur more easily when cold outdoor air meets warm indoor air. Technicians should inspect for moisture or freezing issues before starting the cleaning process.
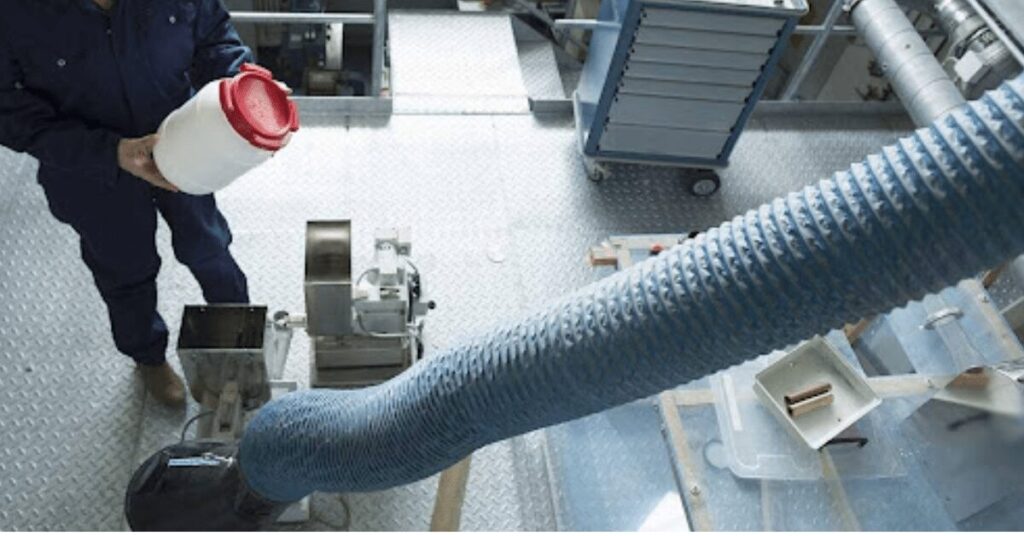
Flexible Ducts vs. Rigid Ducts: What It Means for Prep
The type of ductwork your HVAC system uses matters when it comes to cleaning.
Flexible ductwork, typically used in attics or tight spaces, is more prone to damage. If your home has flex ducts:
- Make sure they’re supported and not sagging.
- Point out any kinks or collapsed sections to the crew.
- Ask if they’ll use soft brushes or specialized tools designed for flex ducts.
On the other hand, rigid metal ductwork is more durable but can collect more hardened debris over time. Preparation here involves making sure all joints are sealed, panels are tight, and no corrosion or rust is visible near access points.
Read More: How Much Does Air Duct Cleaning Cost in NJ?
Mixed Systems Need Special Attention
Many homes use a combination of duct types. In this case, the best thing you can do is map out your ductwork layout, noting which sections run through which parts of the house, especially attics, basements, or additions.
Communicate this clearly to your cleaning team so they can prepare accordingly. Different duct types often require different tools, techniques, and access strategies—and knowing that in advance leads to a more efficient and thorough job.
Ready to Get the Most Out of Your Air Duct Cleaning?
Spending time and effort on preparing for the air duct cleaning is one thing—now you need a team that brings the same level of care to the job itself. At Omega Duct Cleaning, we make sure all your preparation pays off with thorough, efficient service that actually improves air quality and system performance. Whether it’s your first time or your fifth, our technicians are trained to work with your space, your system, and your schedule.
Contact us today and see the difference that preparation plus professionalism makes.